If you want to make improvements to your home, then updating your tiles is a great place to start. Tiles, whether they are wall tiles or floor tiles, set the base for the remainder of your interior design. Dated tiles, even if you update the rest of your interior, can really make a room look old fashioned.
If your tiles are damaged or have started to chip, or maybe if they have become slippery as they have worn down, then these will also need replacing. Having new tiles laid can be an expensive project to undertake, but a significant part of the cost will be what the tiler charges you for removing and disposing of your current tiles.
If you can remove the tiles yourself, then you stand to save a large chunk of money. Removing tiles might seem like an overwhelming and messy job, but with the right tools, you could have your tiles removed in the space of a day.
If you’re thinking about removing your own tiles before having new flooring fitted, then you’ll need to consider the tools you need to do the job effectively. You may find that you already have the necessary tools in your garage, but if you have a large space of tiling to remove, then purchasing specialist tools might make your project run more smoothly.
As well as considering the tools you’ll need to remove the tiles, you’ll also want to ensure you are equipped with suitable safety equipment to protect yourself during your renovations.
Hammer
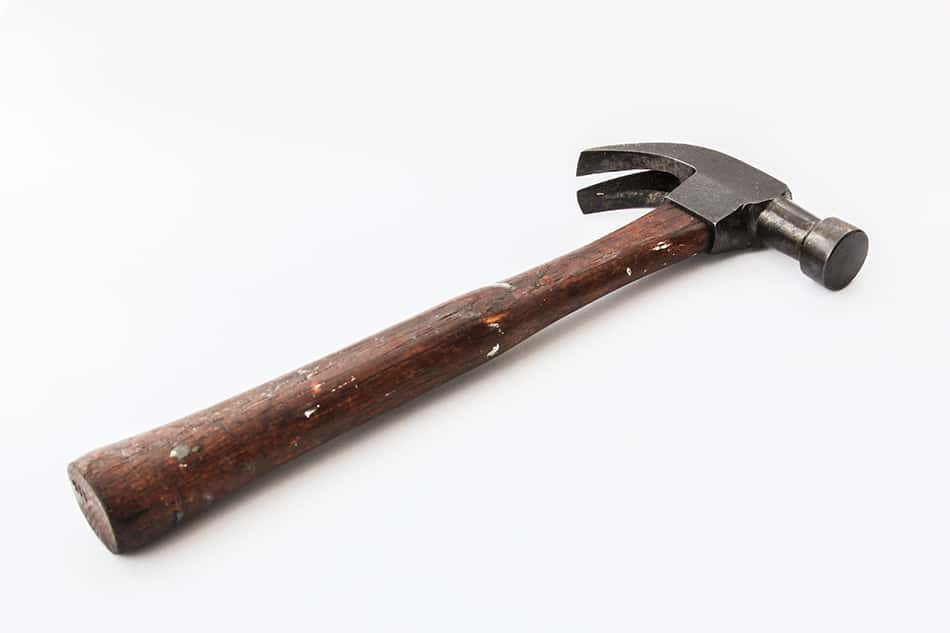
If you want to remove your tiles on a budget, and don’t already own proper demolition tools, then a hammer is the next best thing. Most people will already have a hammer lying around the garage, but if you don’t, then you can pick up a decent quality hammer for just a few dollars at any hardware store.
Hammers are also a great tool for a wide range of jobs in the home and garden, so you can rest assured that it will come in handy again in the future, as opposed to being a specialist tool you will only use for one task.
A mallet hammer will be the best type of hammer for the job of removing tiles, but if you have a traditional claw hammer already, then this will suffice; you don’t need to go out and buy a specific type of hammer.
The reason that a mallet hammer is preferable is that you will predominantly be using the hammer to force a chisel beneath the tiles to lift them from the floor, and a mallet hammer has a larger surface that will allow you to be more accurate. A claw hammer will work, too, though you’ll just need to be a little more careful.
A hammer will also be useful for smashing up tiles, as larger tiles especially may not come up in one piece. Breaking the tiles up with a hammer will enable you to lift the smaller pieces up more easily.
Masonry Chisel
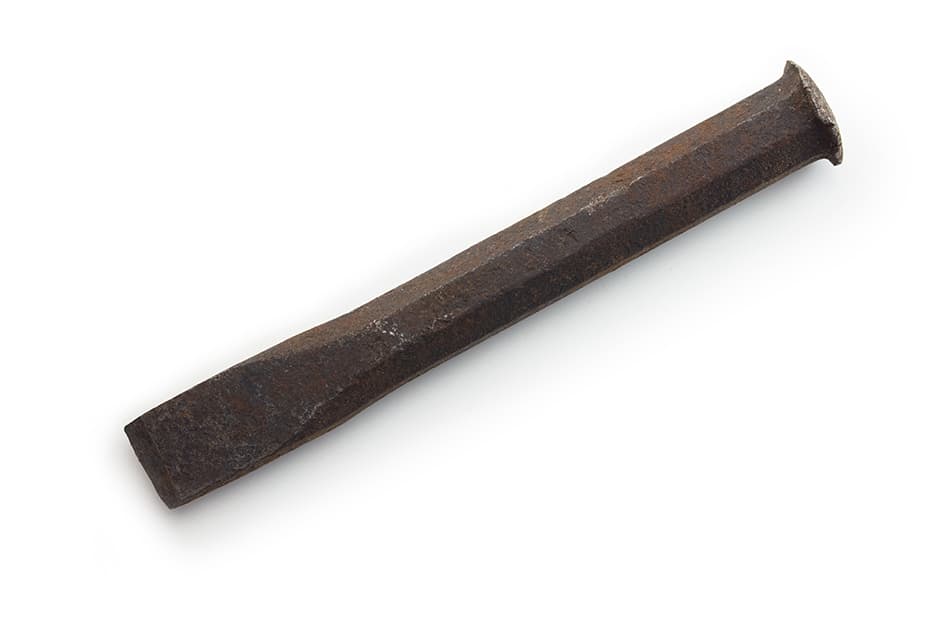
A masonry chisel will work in conjunction with a hammer. It will be especially useful in hard-to-reach areas such as corners where tiles can be more difficult to get at and lift up. To use the masonry chisel, you’ll need to angle the pointed end at the edge of the tile where it meets the surface underneath.
Hit the back end of the masonry chisel with a hammer, and it will encourage the tile to lift from the floor.
A masonry chisel is great for lifting tiles on a budget as you can pick one up for a small price, and it will be useful afterward on a wide range of projects. You could use a chisel and hammer to remove the tiles of an entire floor without using any additional power tools, and while the job may take you a little longer, it will be completed at a very minimal cost.
A masonry chisel can also be useful to remove any remaining grout that has stuck to the floor following tile removal. This will help to ensure the surface is smooth, and the coverage you use to go over your floor will be applied more easily and seamlessly.
Sledgehammer
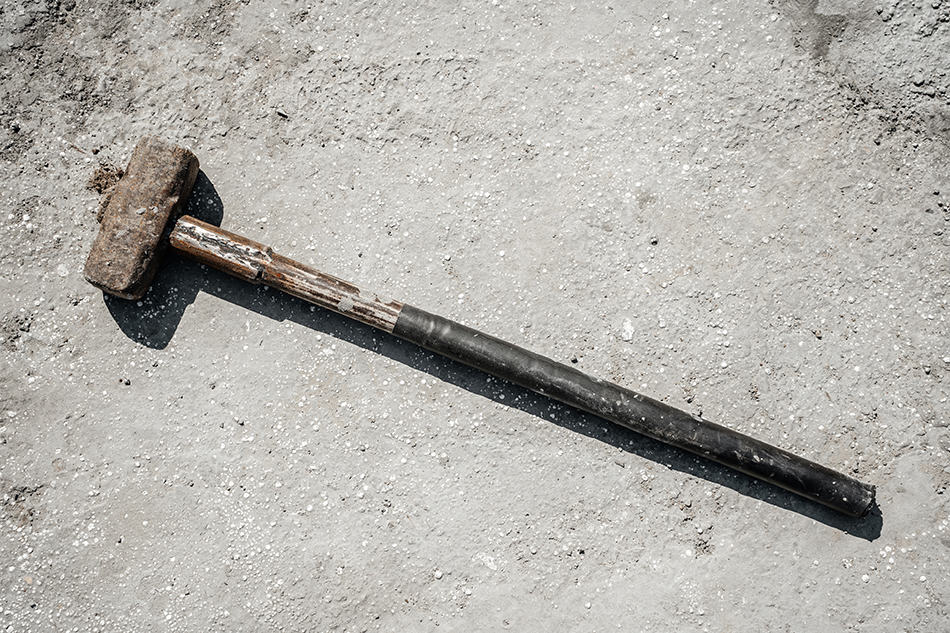
A sledgehammer is the best manual tool to use when demolishing tiles prior to removing them. It is more forceful than a hammer and can break tiles up more quickly and easily; however, it will not be the ideal tool in all situations.
Sledgehammers are quite long tools, and you need to have the space around you to be able to swing them, so if you are removing tiles in a bathroom where space is limited, then a sledgehammer might not be the right tool for the job.
You’ll need to take extra care not to damage any items around you, especially if you are removing tiles in a room such as a kitchen, where the kitchen itself is not being replaced. A sledgehammer is a strong tool that can cause great damage, which can be both an advantage and a disadvantage.
Not all sledgehammers are created equal, so if you are purchasing a sledgehammer specifically to remove your tiles with, then it’s worth investigating a little.
A heavier sledgehammer will have more power but will also be more tiresome to operate. Some sledgehammers will have special features that can help to lessen the impact on the user when they strike their target.
Using a sledgehammer can be very physically demanding, so if you are covering a large space, then you may find it worth paying for a power tool that can do the job more quickly and with less effort.
Drill with Tile Drill Bit
A drill with a tile drill bit can be used to drill holes into particularly stubborn tiles. By drilling holes through tiles, the structure and integrity of the tiles will be compromised, making them easier to remove with a different tool. You can also drill holes in the grout surrounding tiles so that you have space where you are able to insert your chisel, giving you a starting point for lifting up the tiles.
Depending on the material of your tiles, you may need a different type of drill bit. For example, ceramic tiles are notoriously difficult to drill through and may require a diamond drill bit.
A drill with a tile drill bit will usually only be required for tiles that are proving difficult to remove with usual means, and in most cases, this tool won’t be a necessity.
Air Hammer
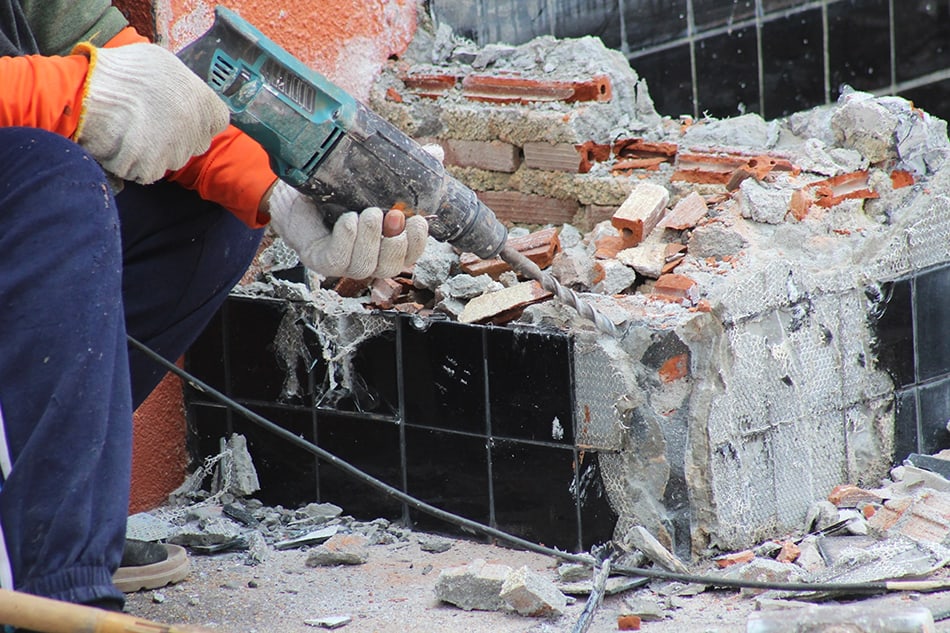
An air hammer is a type of pneumatic hand tool that can make easy work of removing tiles. It works by using pressurized air to swing the head of the hammer back and forth in a very efficient manner, resulting in a forceful hammer with no effort required on the part of the user.
A typical air hammer will produce as many as 5000 swings per second. You can also get chisel heads to fix onto the air hammer, which will chip away at tiles or grout very quickly and easily. They tend to be less precise than manual chisels, but also much less effort.
The benefits of a good air hammer are all in their ease of use and speed. Using one of these tools instead of a manual tool will allow you to remove the tiles much easier, and you won’t feel worn out afterward as no real effort is required other than holding the tool in the required place.
Floor Scraper
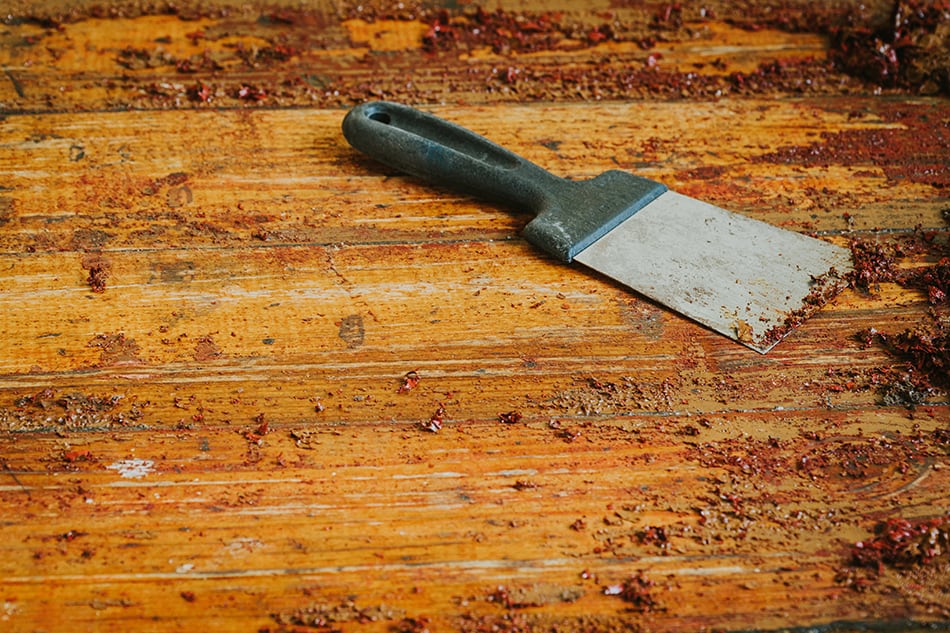
If your tiles aren’t stuck down too tightly, then you may be able to remove all of them with just a floor scraper. This is a hand tool with an angled scraper attached at the end. It has a razor-thin edge for poking underneath the tile, and then you press on the handle so that the scraper lifts up the tile.
These tools are sturdy and inexpensive, though they are really only suitable for scraping tiles and grout up, and probably won’t be useful for many other jobs around the home.
You can get floor scrapers with short handles that you would use while on your hands and knees, or you can get standing floor scrapers with long handles that look a little like a shovel.
After you have used your floor scraper to remove the tiles, you can also use it to scrape any remaining lumps of grout or tile adhesive from the floor to ensure you have a smooth surface for your new flooring to be laid on top of.
Pry Bar
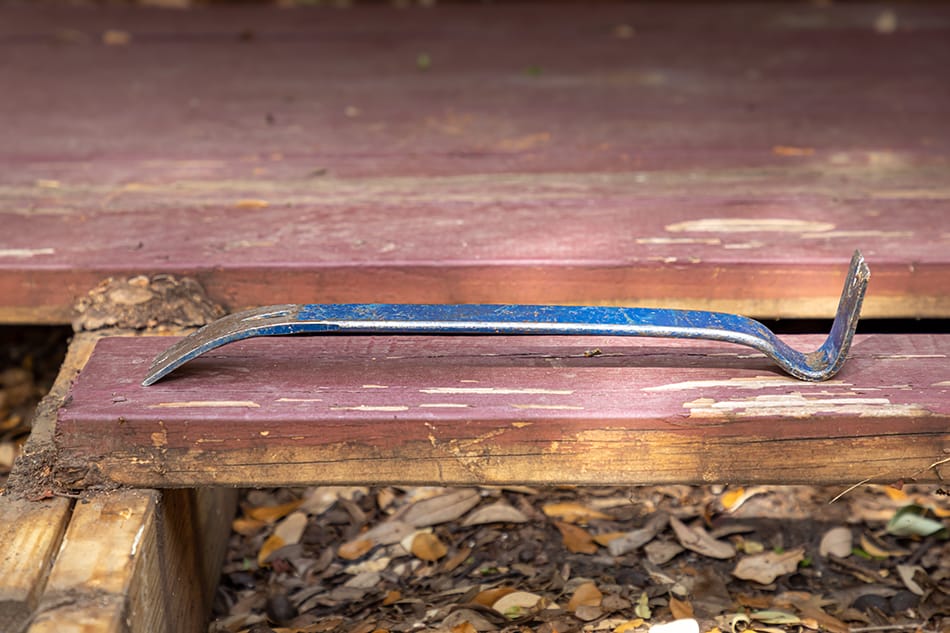
A pry bar operates in a very similar way to a tile scraper, but it is designed for more general use. Pry bars are typically made of chunky steel, making them very sturdy, strong, and long-lasting. A pry bar will have a foot at one end of the bar that has an angled edge, perfect for inserting underneath the edge of a tile.
You would then apply force to the pry bar, and it would lift up the tile. You can also use it like a chisel if you don’t own one, pointing the blade under the tile and hammering the back end of the pry bar to further insert it under the tile to help lift it.
A pry bar is a great multi-use tool to keep in the garage as it can come in handy in a wide variety of situations, aside from simply removing tiles. These are easily found in any hardware store, and good-quality pry bars can be picked up without great expense.
When purchasing a pry bar, you should find one that looks solid; if you make a quality choice, your pry bar should easily last you for a lifetime’s worth of jobs and DIY projects.
Demolition Fork
A demolition fork can work in place of a pry bar. It looks very similar to a pry bar, but at one end has a solid fork. These are made entirely of steel, much like pry bars, making them very reliable and sturdy, ideal for use in demolishing tiles or other renovation projects.
To use this tool to remove tiles, you would insert the fork end under the raw edge of the tile, then put pressure down on the handle, causing the fork section to point upwards and lifting up the tile as it goes.
This is a very useful tool for removing tiles and could easily complete a whole room of tile lifting, though you may feel exhaustion afterward, as plenty of manual force is required.
Demolition forks come in a range of sizes, and you’ll need to choose one suitable for you in order to prevent back or shoulder pain. The fork should be around the same length as any shovel that you would use in the garden.
If you are expecting to be conducting other demolition projects in your future, then a demolition fork will be a useful purchase. These tools can also aid in knocking down walls and pulling down drywall.
Multi-Purpose Oscillating Tool
This tool may also go by the name of ‘power grout removal tool,’ which in essence tells you exactly what you can use it for. This is a multi-tool, which will usually come with several attachments, one of that can be used to grind down grout and remove it from between tiles.
This is a great tool for grout removal, which can be one of the more painstaking tasks when it comes to grout removal. Even if you manage to easily remove the tiles, you may find yourself left with lines of grout remaining on your floor or wall, and these will need to be removed to make a flat surface for your new flooring.
You can go at the grout with a chisel and hammer, but if you have a large area to cover, then this can be a very time-consuming and frustrating job.
A power grout removal tool will simply take all of the time and effort out of removing grout. As this is a multi-tool, it might be a good investment to use alongside your other home renovation projects. The other heads you can get for this type of power tool include saw blades for cutting wood and sanding pads.
Manual Grout Removal Tool
A manual grout removal tool looks like a screwdriver, but instead of having the typical drive at the end, it has a triangular-shaped piece of metal that comes to a sharp point. This end can be used to dig out the grout and can work well for smaller areas.
If you are trying to keep your budget down, you could also use this for covering larger spaces, but be prepared to spend many hours removing a lot of grout with this hand tool.
If you do plan to buy a manual grout tool, pay close attention to the handle and find one with an ergonomic grip. Using this tool for a long period of time will likely result in sore hands, and an ergonomic grip will go a long way to easing this.
Jackhammer
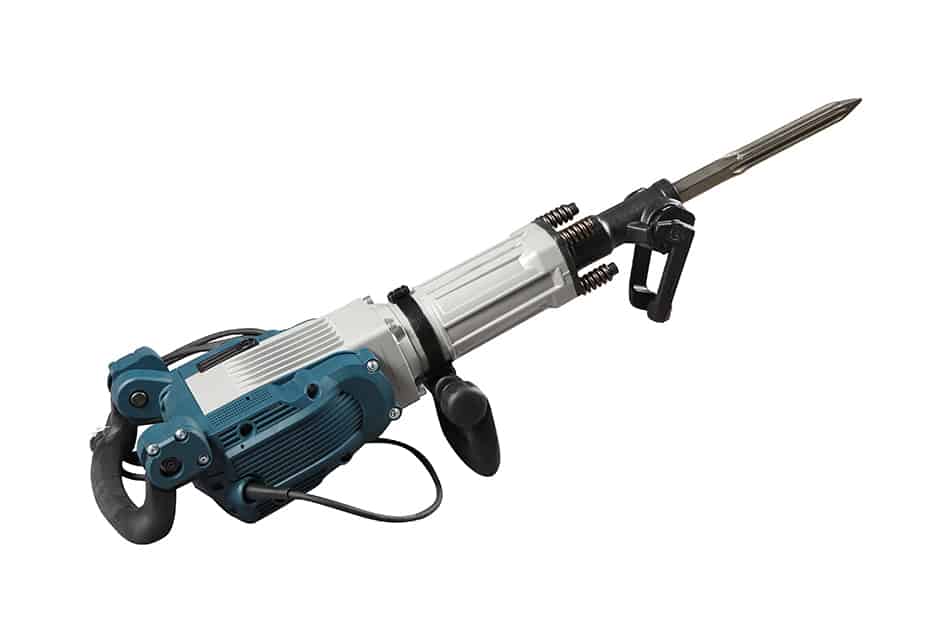
A jackhammer is like a large version of an air hammer; it works in a similar way by using forced air, but it is much more powerful. You will probably have seen jackhammers being used before, usually in commercial situations, where they are used for digging up roads or paths.
If you have a large area of tile to remove, then a jackhammer will get the job done in no time, but there are many factors to consider before racing out to lease or buy a jackhammer.
First of all, they are an extremely powerful piece of equipment that should only be used by experienced and capable hands. If you’ve never used a jackhammer before, then using one for the first time in your home probably isn’t the best idea
. If you do use a jackhammer, you’ll need to be careful not to compromise the integrity of the floor beneath the tile. If you make a wrong move, this could cause costly damage.
Jackhammers won’t be suitable for every tile removal project, and you’ll need to assess this carefully. Understanding the space issues is of utmost importance.
The cost of a jackhammer may be prohibitive to many people, as they are very expensive. However, you will be able to lease a jackhammer for a day or more from a tool hire store.
Safety Goggles
In addition to the tools you can use to remove your tiles, you should also consider accessories to keep yourself safe while using them. One of the best things you can do to protect yourself when removing tiles is to wear safety goggles.
These are very inexpensive items that do the very important job of protecting your eyes and, therefore, your vision.
Wearing safety goggles is a very simple but effective way to maintain a safe workplace. When removing tiles, small pieces of chipped tile or grout may fly up into your face, and this could cause injury if it were to reach your eyes.
Safety goggles will also protect your eyes from the dust that could be released when removing tiles and ensure you are able to see clearly when working.
Wheelbarrow
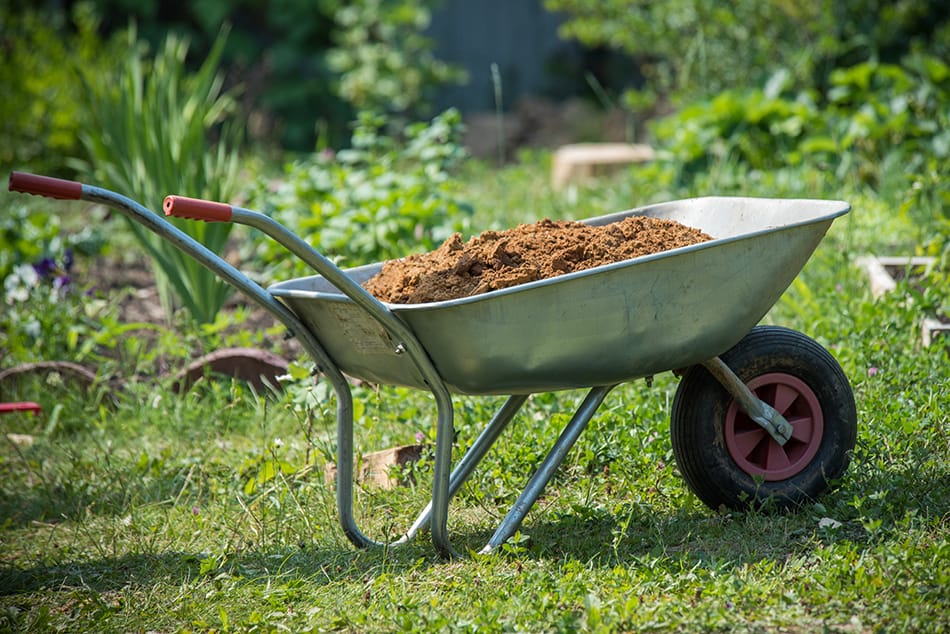
A wheelbarrow will be very useful in collecting all the broken tiles and grout debris and transporting them outside to be properly disposed of. Without a wheelbarrow, you may find yourself having to make multiple trips in and out of the house carrying heavy and sharp demolished tiles.
A wheelbarrow will simply make this process much easier and quicker and will probably not cost you anything as a wheelbarrow is an item most people have in their yard or garage anyway.
If you don’t have a wheelbarrow, you should consider buying one because they are useful for many jobs around the home and garden; or you might ask a neighbor if you could borrow their wheelbarrow for the duration of your project.
Work Gloves
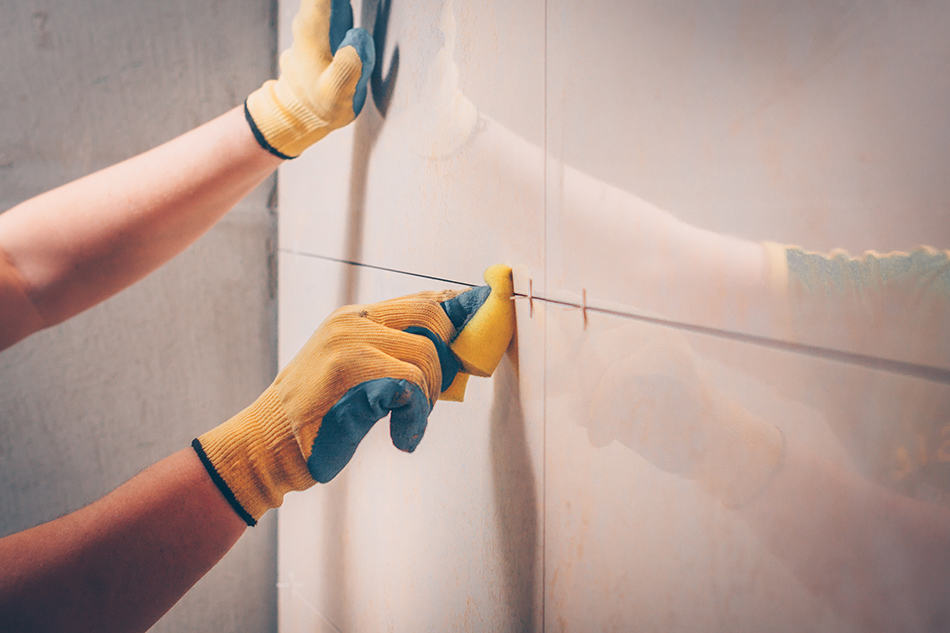
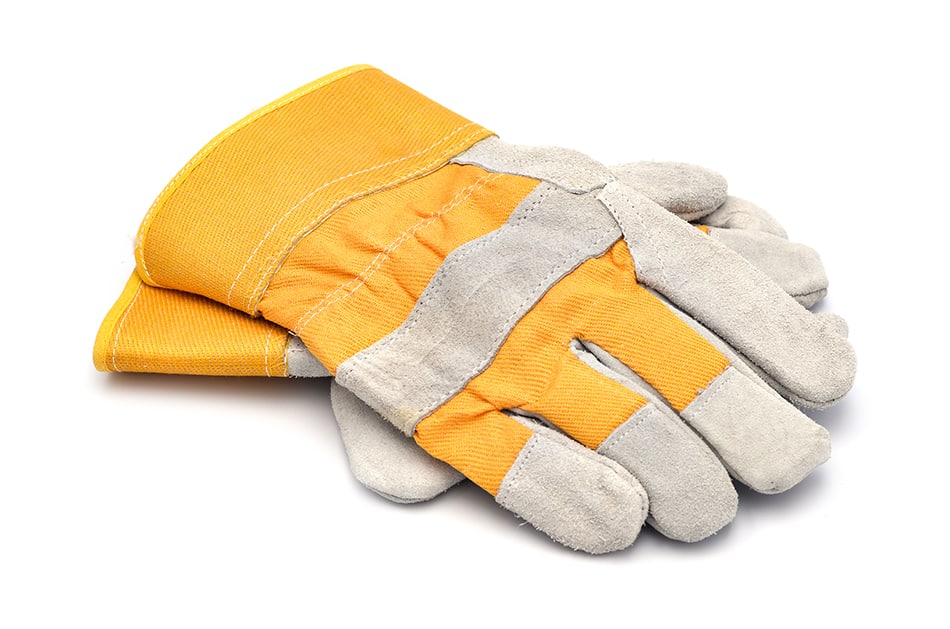
Work gloves are made of thick fabric, and their job is to protect the skin on your hands from injury. These often have reinforced fingers made from rubber, or they may be constructed from leather.
Work gloves should be worn when removing tiles, as demolished tiles can have very sharp corners and risk damage to your hands. They will also protect your hands against any accidents, for example, if your grip slips when using a tool.
Work gloves can be picked up for just a few dollars and can be used repeatedly when conducting any renovations around the home. When selecting work gloves, ensure they are thick and reliable but also have a good fit to ensure they don’t interfere when gripping tools.
Noise-Canceling Headphones
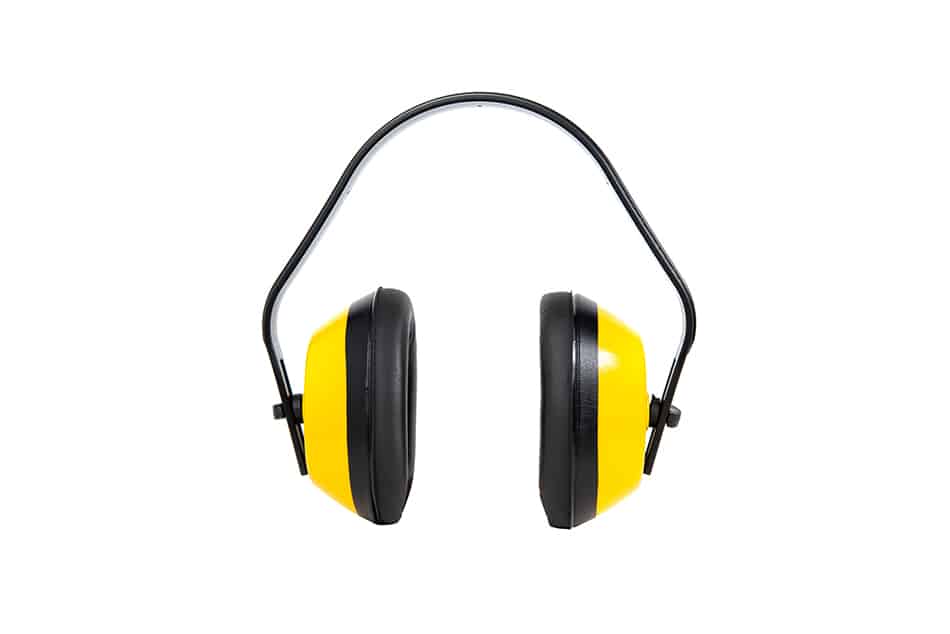
If you are using power tools to remove tiles, then you should be wearing noise-canceling headphones. Not only will these make the job more pleasant, and you won’t have to endure a continual assault on your ears, but they also perform the very important job of protecting your hearing.
Repeatedly using loud power tools without ear protection can cause irreparable damage to your long-term hearing. This can easily be prevented by simply wearing noise-canceling headphones, and this is a very low-cost and easy way in that you can ensure your safety and protect yourself.
Vacuum
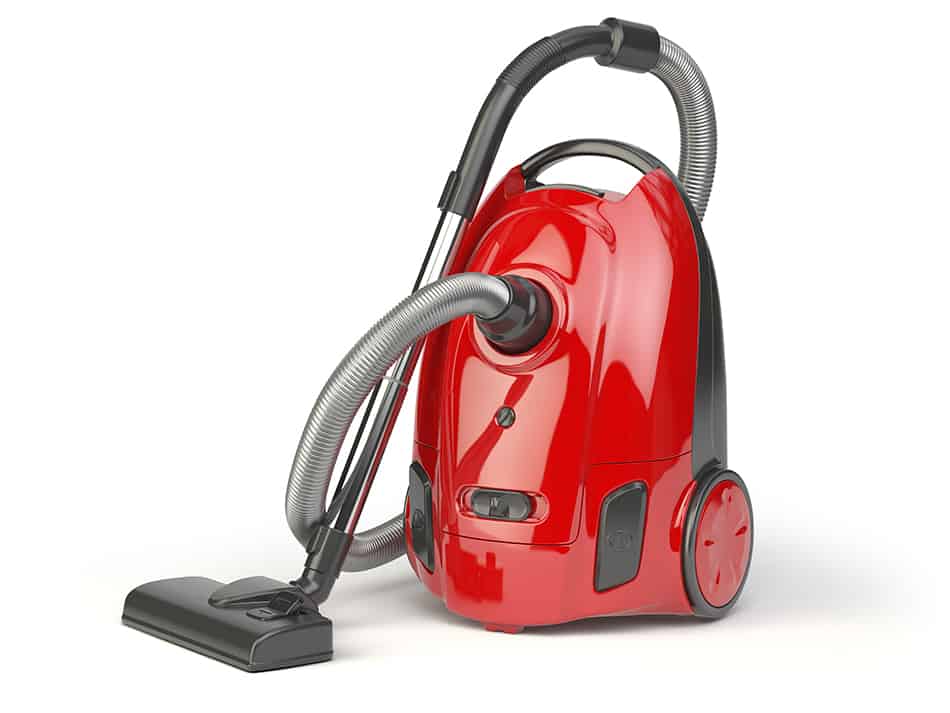
A vacuum has a place on every worksite. Removing tiles will be a dusty job, and you should vacuum up the dust as you go to prevent it from becoming excessive to the point that it blocks your vision.
Vacuuming at intervals will also prevent too much dust from finding its way to other areas of your home. It’s a good idea to keep a low-cost separate vacuum for use in these sorts of situations, as thick dust and debris can cause blockages. You won’t want to damage your usual vacuum by using it on renovation projects.
