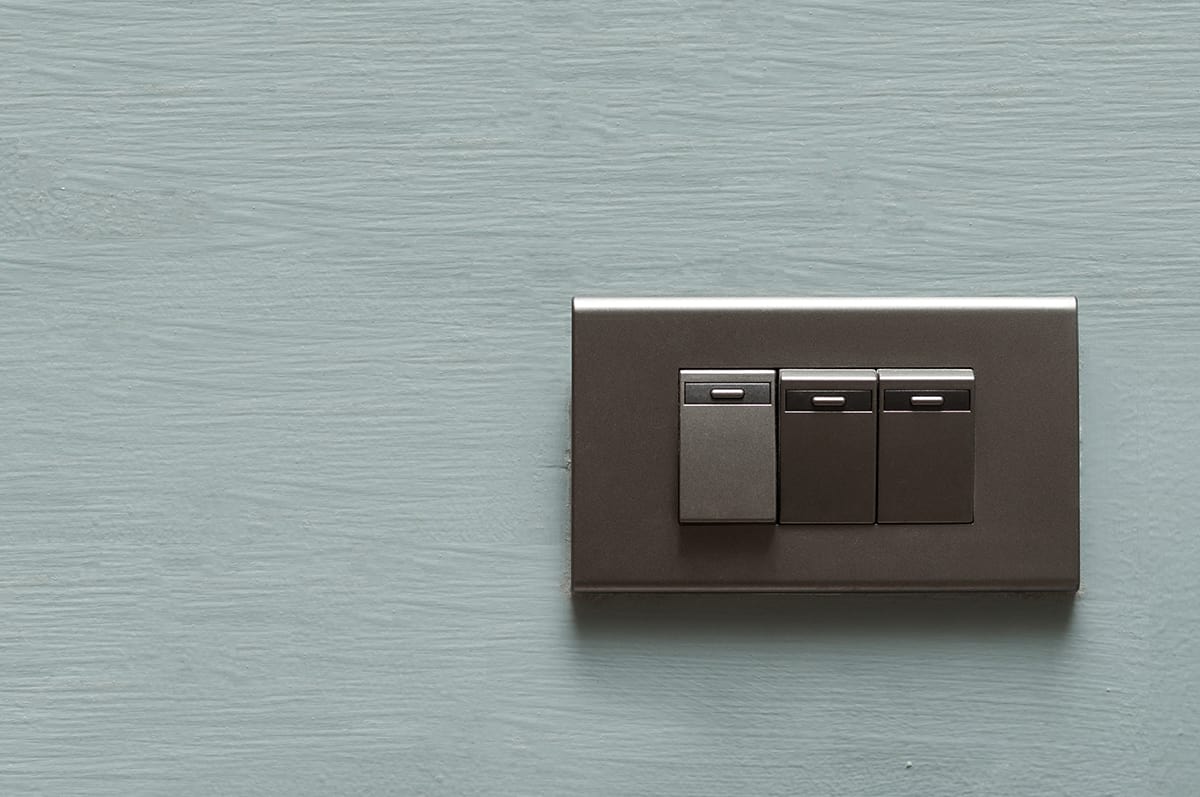
Are your electrical switch plates and outlets starting to look a little worse for wear? If your plates are turning yellow, perhaps it’s time to think about the best color for your white walls’ switch plates and outlets. Since white walls are a blank canvas that goes with any color, you can match or complement the color of switch plates and outlets to your walls.
This article will guide you in selecting the best switch plate and outlet colors for your white walls, as well as some quick and easy painting tips.
Table of Contents
Switch Plate and Outlet Colors For White Walls
White or Ivory
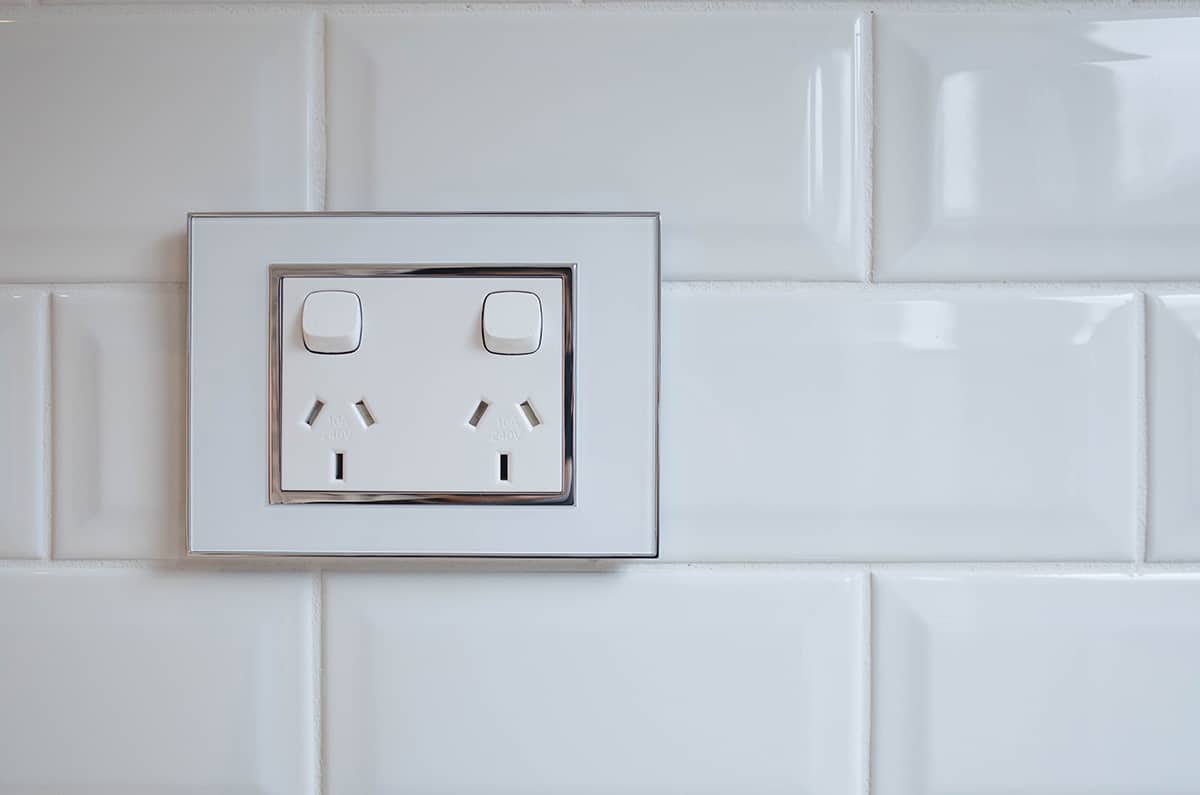
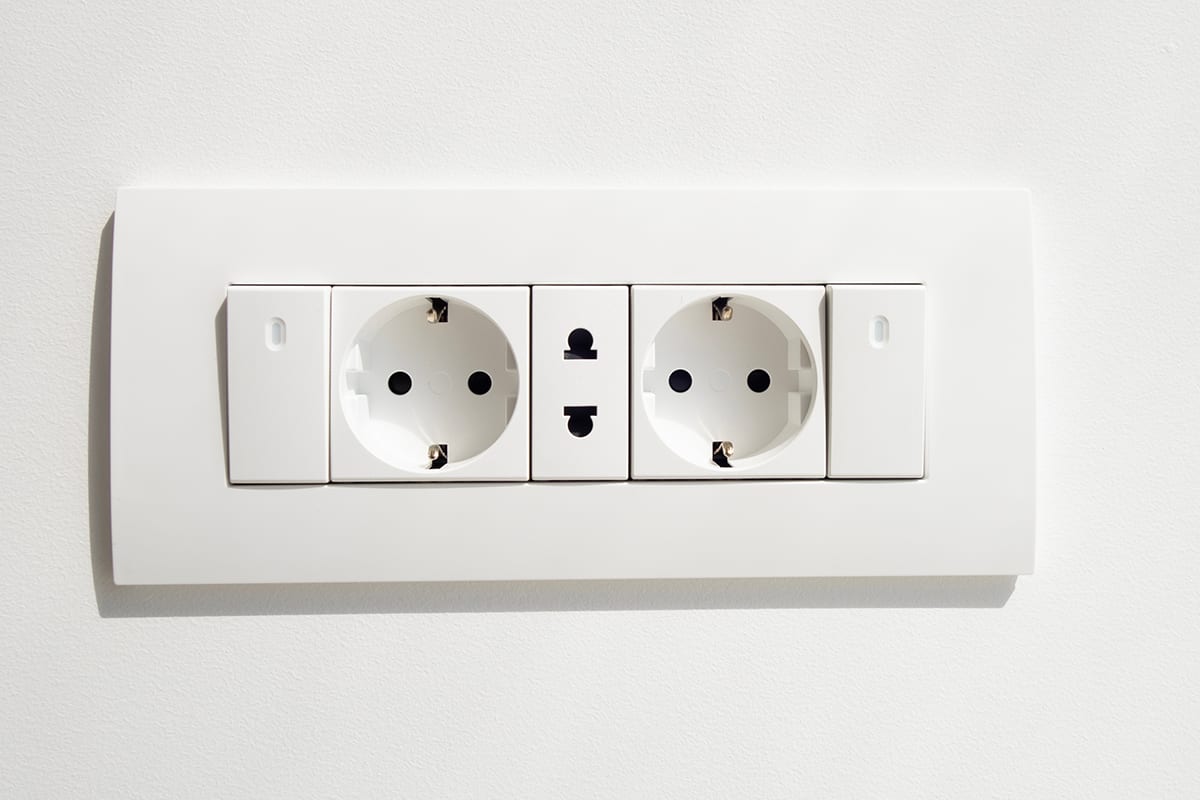
White is the standard color for light switches and outlets. This is the most popular color to choose as it matches your white walls. But white isn’t the only option. Ivory is a smarter alternative that can coordinate well with any other color.
You can easily match your ivory switches and outlets to your white walls and other decors. Even stainless steel works well with other metallic elements.
Other Neutrals
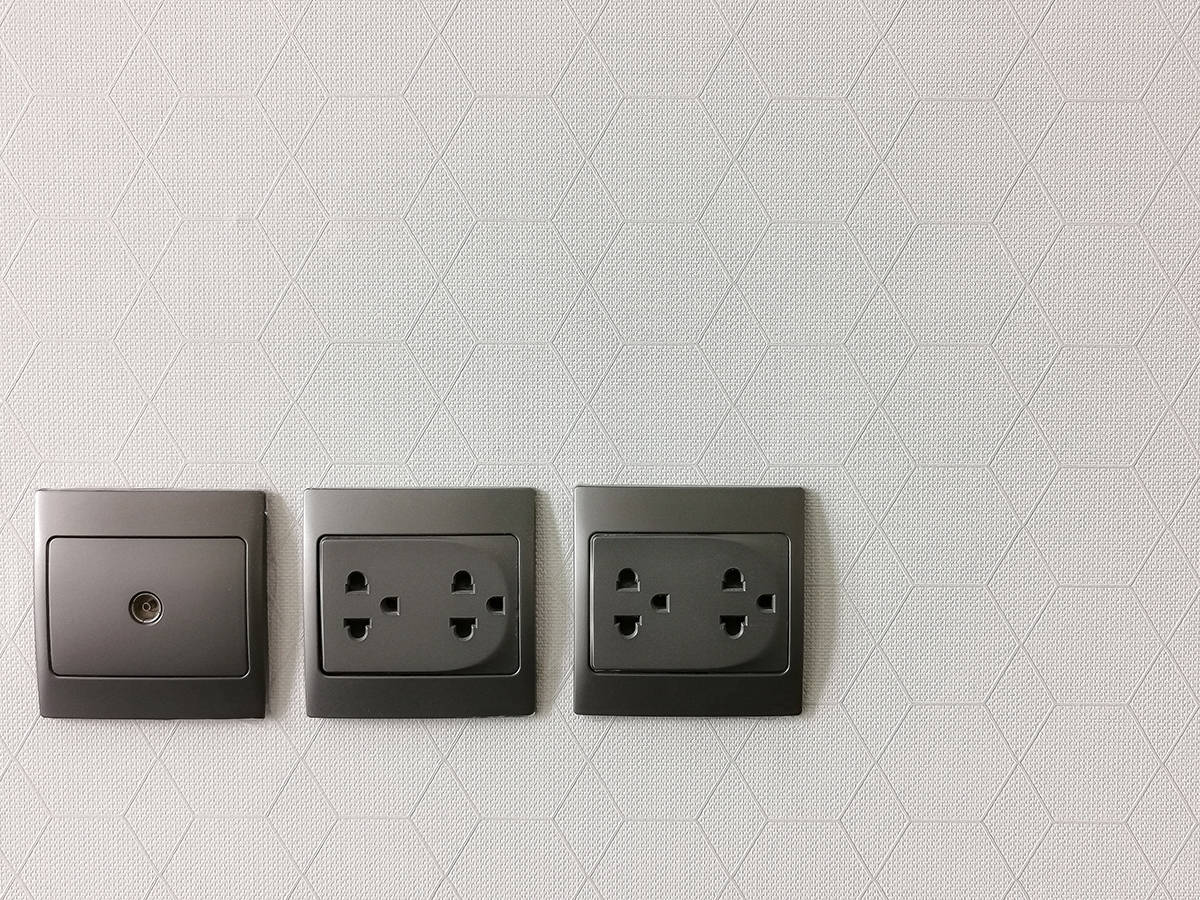
Aside from white or ivory, other neutral colors for outlets and switches, like grey and beige, will also work with white walls. Since grey is a cooler color compared to white, it acts as a reflective neutral that stands out as brighter color.
In modern interior styles, you will often see grey or beige electrical switches and outlet covers, as the goal is to create a minimalist look. These neutrals are also ideal for industrial-style homes that don’t feature any detailed or elaborate decor.
Bright and Bold Colors
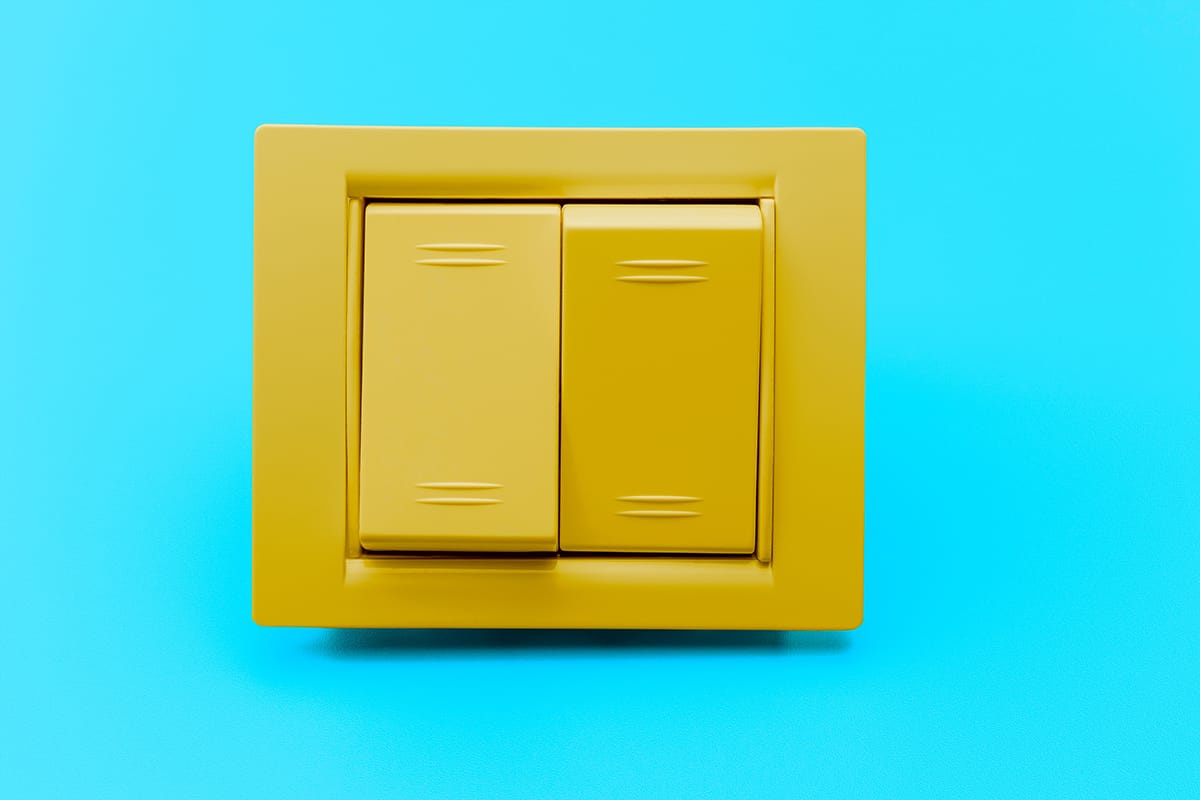
Bright and bold outlet cover colors like red, yellow, or orange are all considered warm hues on the color wheel. Using these colors for your switch plates and outlets will go nicely with warm white walls.
Red, orange or yellow also fit well with other bold and bright decor colors, so if you are into loud colors, you can always capture the 70s era and paint your electrical switches or outlets in bold colors. This is especially a great idea for children’s bedrooms or kitchens, where you want the interior to feel airy and bright. Bold outlet colors are exciting and cheerful, thus ideal on white walls.
Blue or Green
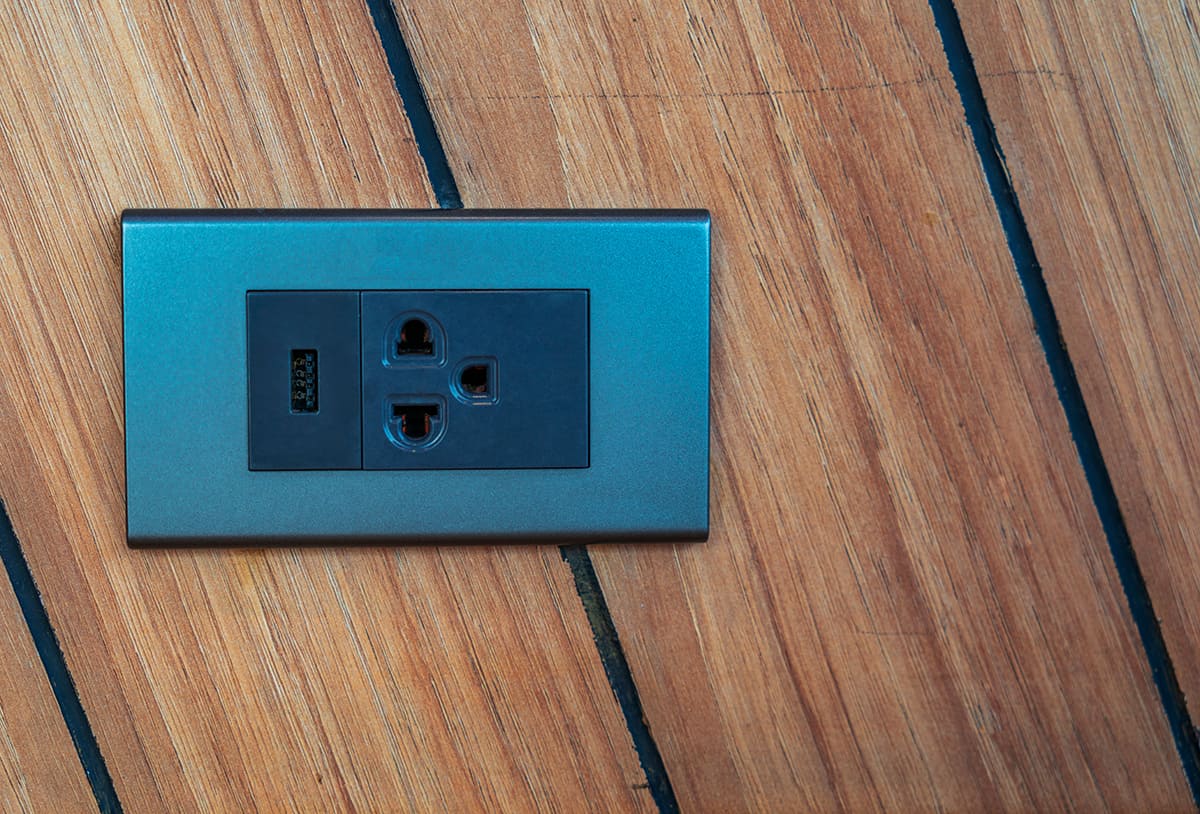
Green and blue are the most preferred matches for outlet covers and electrical switches on white walls. Surprised? Don’t be. These nature-inspired colors are very comfortable on the eye and can be used in both dark and light shades. For example, sky blue against crisp white walls will create a peaceful and visually attractive look.
In bathrooms and kitchens, blue or green outlet covers and switches go especially well on a white background as these colors are associated with nature and water. Since green is a warmer color than blue, opt for a darker shade.
Sage or mint green, for example, sits comfortably on a white wall. That said, you must make sure your green or blue outlets work with the rest of your interior styles. But since blue or green lean toward nature themes, they fit well into most neutral settings.
Black
Black isn’t a standard color for switches and outlet covers, but it undeniably does make for a sleek and smart finish. Black outlets and switches look beautiful on white walls. For anyone who wants to create a sophisticated look in their room, black makes a stylish choice. To make your black switches pop, try framing them with grey or silver outlets for a truly glam look.
Should Electrical Outlets Match the Color of the Walls?
Light switches tend to be a little harder to hide than electrical outlets. This is especially true in kitchens and bathrooms where the outlets are installed above countertops for easy access. In rooms with white walls, you should consider using a different color for the switches and outlets in order to make it easier to find them on the wall.
White outlets at the foot of the white walls will be more difficult to find and use; thus, choose a darker color for rooms like kitchens and bathrooms.
But in living or dining rooms, you may want to match the outlet covers to your white walls as you wouldn’t want to disrupt the flow of decor in your room. In addition, matching outlet color to your white walls in living rooms helps keep them out of sight.
Should Switch Plates and Outlet Colors Match One Another?
Yes. Ideally, your outlet cover color should match your light switches. Otherwise, they will stick out like a sore thumb against the white walls. For example, if your outlets are beige, it wouldn’t make sense to go for black light switches. Always use identical colors for both the switch plates and the outlet covers.
This is because outlets and switches both provide power to electrical appliances, so since they share the same function, it makes sense to match their color. This way, you will create consistency throughout your kitchen, bedrooms, and living room. By having these fixtures in the same color, they can help tie the rooms together.
Outlet Plate Cover Painting in 4 Simple Steps
A common DIY mistake is to leave the outlet plates on the wall whilst you’re painting them and the walls. This is an especially difficult task if you’re going to paint the covers a different color to the walls. Just imagine all the streaks of paint around the outlets.
The second mistake is omitting the scuffing and priming process. Always remove the outlets and switches from the wall before painting them. It takes a simple removal of two or three screws. Plus, you can repaint the drywall underneath the outlets while painting the rest of the walls.
Most interior decorators recommend lightly sanding the outlet covers prior to priming and painting. This will allow the paint to adhere properly to the plastic surface rather than peel off soon after. It is best to use an oil-based primer and always allow it to dry thoroughly for a few hours before applying a second coat. Read the instructions on the oil primer first to check for drying time.
Once you start painting the outlet covers using spray paint or a brush, you must use long, even strokes. Wait for a full day before mounting the outlet covers and switches to the wall, as they would have thoroughly dried by then.
With the above tips in mind, you’re now ready to start painting your outlet covers. Just follow these simple steps for the best results:
Step 1, preparation: Remove the outlet covers and switches from the wall and lay them on a flat cardboard or newspaper. Each plate cover or switch must be cleaned before painting.
Immerse each light switch and outlet cover in an alcohol solution or get half a cup of tri-sodium phosphate mixed in a gallon of water. Scrub each plate using an abrasive cloth or sponge. This cleaning solution will thoroughly remove the scuff and grime marks from the plastic surface without scratching it.
Step 2, scuffing and priming: Once your outlet plates have dried, scuff the plastic surface using a 200-grit sandpaper. You can then apply a coat of primer by using an aerosol can. While most people may omit the priming part, you should be aware that without priming, your paint job will require frequent touch-ups. However, this can be avoided by priming the outlet covers first.
Step 3, painting the first coat: You have the option of using a brush, a roller, or a spray to paint the electrical outlet plates. Spraying the plastic surface directly from a can is by far the quickest and easiest way to achieve a smooth and glossy finish. To spray paint, start by painting the inside box of the covers, as this will reduce the chance of over-spraying. To spray paint the screws, simply push them into the newspaper or cardboard in order to keep them standing upright.
If, on the other hand, you prefer a textured finish for your outlet covers, it is best to paint them using a brush. Apply long, even strokes starting from one end of the cover and continue to the other end. Never start or end in the middle of the cover.
Before applying the second coat of paint, wait for 24 hours for the first coat to dry.
Step 4, finishing your outlet covers: To decorate the covers, use a stencil and spray paint over them. Repeat this process to create a multi-colored or layered pattern. Alternatively, you may use a paintbrush to go over the stencil. Don’t forget to also apply a second coat of paint to the screws before mounting the covers and switches on the walls.
In closing
We hope our color ideas for outlet covers and electrical switches have inspired you to paint your fixtures in your favorite color. Since white walls are the perfect backdrop to any bold or neutral color, you can easily blend your light switches and outlets into your room’s decor.
