If you are installing new internal doorways in a property, or you are renovating a home after ripping out the old doors and doorways, then you’ll want to know all about door casing. Getting the door casing sizing right is going to make sure your entire doorway has a finished look, but there are other things you need to consider as well.
There are many styles of door casing to choose from, whether you purchase a ready-made casing kit or create your own casing from lengths of trim.
The types of angles you choose for your casing is also important from a design aspect, as well as impacting the way that the casing gets installed. Here we look at standard door casing size, as well as the types of door casing you can choose from.
What is a Door Casing?
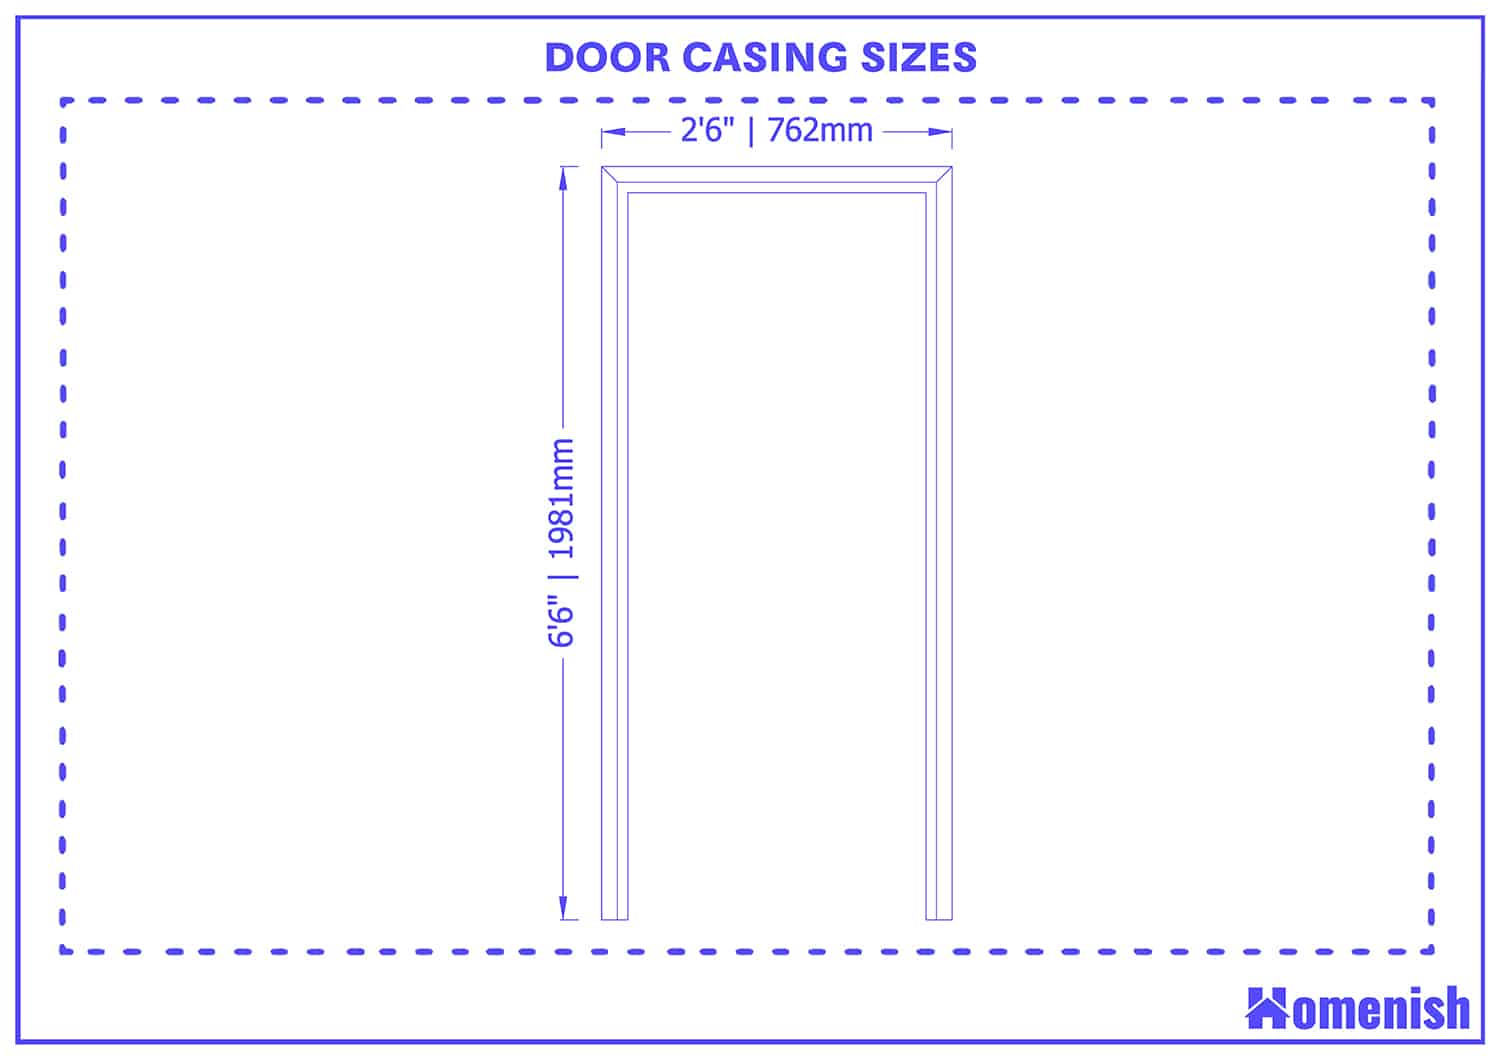
A door casing is a trim that goes around the edge of a door frame, and while it might seem purely decorative, it, in fact, serves the useful function of hiding the joins between the door frame and the wall. A door casing consists of three pieces, two long strips that fit vertically on either side of a door and a shorter piece that fits horizontally across the top of the door.
If you plan to install casing on both sides of a door, you will need six pieces of casing in total. There are a variety of different styles of casing, from sleek and simple for a modern look to more ornate styles for a traditional or formal look.
Typically you can expect door casing to be made from wood, which you can then seal, stain, or paint as you wish to match the decor of the room.
Door Casing Sizes
The size of the door casing that you will need depends on the size of your door frame. There are some common door frame sizes, but unfortunately, there is no such thing as a standard door casing size.
To find out what size of door casing you are going to need, the best thing to do is take accurate width and height measurements for your existing door frame. The average width of an internal door frame is 2 feet and 6 inches, or 762mm. The average height of an internal door frame is 6 feet and 6 inches, or 1981mm.
You can buy casing kits in various sizes to suit the size of common door frame sizes, and these represent the easiest option if you are installing the door casings yourself, as they will be ready cut to size and simply need to be nailed into place.
However, if you have an unusually sized door frame, or if you feel confident cutting the casing down to size yourself, then you can use strips of trim and create your own custom casing to perfectly frame the door.
Types of Door Casing
There are many different styles of door casing available, but all of them will fit into one of two categories; mitered casing and butted casing.
Mitered casing
As you might expect from the name of this type of casing, it is fitted using miter joins. This involves cutting the strips of casing at 45-degree angles so that they can be slotted together to make a right angle of 90 degrees. This type of casing can look modern or classic depending on the style of trim you opt for, and it is the most popular type of casing by far.
If you like the look of mitered casing but don’t feel confident cutting wood to precise measurements, then buy a door casing set that will have pre-cut mitered angles ready for you to install.
If you want to create your own mitered angles to custom fit your casing, a circular saw will be the best tool to use for a clean, exact edge. One instance where you might want to avoid mitered casing is if you live in a historic house where the door frames are not level.
If the doors do not have perfect 90-degree angles in the top corners of the frame, then getting a miter joint to fit is going to be much more difficult, though it is possible. A casing kit will not be much use in this instance because the miter joints will have been cut to form a 90-degree angle, so you will instead have to create the cuts yourself.
This can be done by measuring the angle and then dividing it by two, which will tell you the exact angle the miter joint cuts need to be made at, or you can gradually take tiny slithers of wood off the end of the casing trim in a trial-and-error format until you get the right angle joint to fit your door frame.
Butted casing
Butted casing is much easier to install, but it is less popular because it has a more traditional look that doesn’t work in every home. This type of casing uses a butt joint, where the top horizontal piece of wood is butted against the two vertical pieces of wood to form a frame.
It does not require any special angles to be cut, so it might be an easier choice if you are inexperienced in using tools but want to attempt making your own casing.
For butt casing to look properly finished, the top piece of casing needs to extend outwards further than the vertical pieces of trim, by at least an inch or two on both the left and right side. Traditionally the top piece of casing will also be wider and more ornate than the vertical pieces.
This look draws the eye towards the ceiling, so it is a nice feature to use in rooms with high ceilings to attract attention to them. A butted casing kit is likely to cost more than a mitered casing kit because it is typically more elaborate and will use chunkier pieces of wood.


